Hello Friends,
Sometimes you suddenly notice that your Laptop keypad buttons not working. And you are not able to type text properly from your Laptop keypad due to the buttons not working. Here I’m giving you an idea and technique so that you can repair your Laptop keypad buttons at your own pace. And trust me guys you may wonder after servicing your Laptop keypad with just a small trick and it becomes again in working state.
I believe, you have already noticed which buttons are working and which buttons are not working on Laptop keypad. Now its time to start troubleshooting to fix this issue in my way.
Table of Contents
First things first
I recommend you to first visit the site https://en.key-test.ru and check whether your faulty keys are working on this site or not. If your faulty keys are still not working on this site then go with the below step to fix it:
I have categories this issue in two part by which you can analyze about the key which is not working probably related to the Software or Hardware.
Software Parts
Enable or Disable the key through any third party Software
I have found in some Laptop or computer that the user is facing an issue when pressing a specific key which are not working, related to its software settings. I recommend you to closely look any third party application installed in the computer which is preventing you to type specific character. If it is installed you need to uninstall it instantly and reboot the computer and check. Here I am letting you know about some apps by which you can easily disable the desire key of your Laptop keypad or external keyboard as well.
KeyTweak and SharpKeys is very famous tool now a days to disable specific keys on your keyboard. Both are free to download and use this application when extremely needed. But I can say apart from these two app, users installed any other third party also to block specific keys on keyboard. Which you need to closely look on the computer and uninstall it.
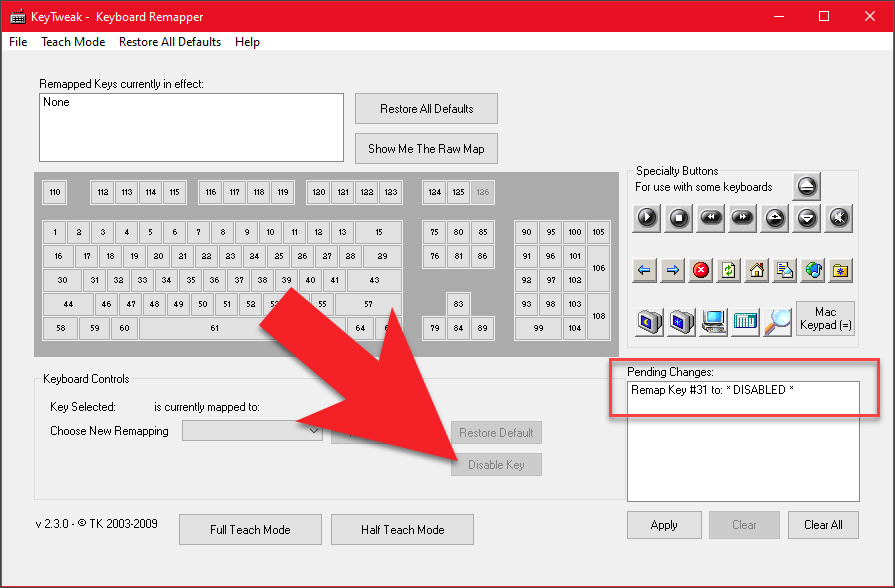
By KeyTweak can be download here


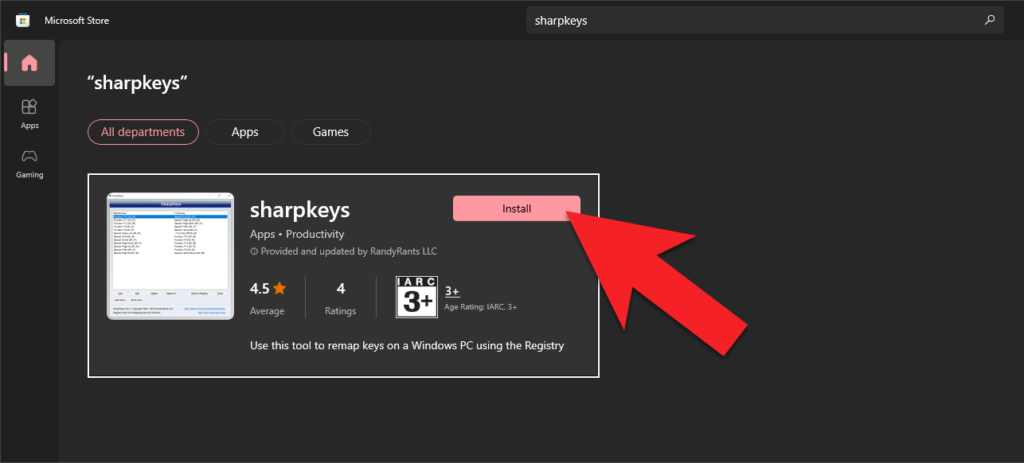
By SharpKeys can be download from GitHub here if you have Windows 7 or Windows 8. But if you have Windows 10 or Windows 11 you can download it from Microsoft Store itself.


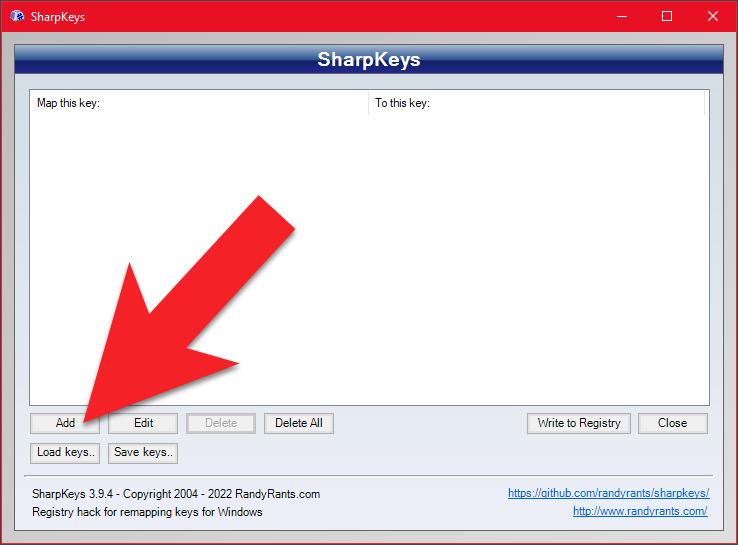
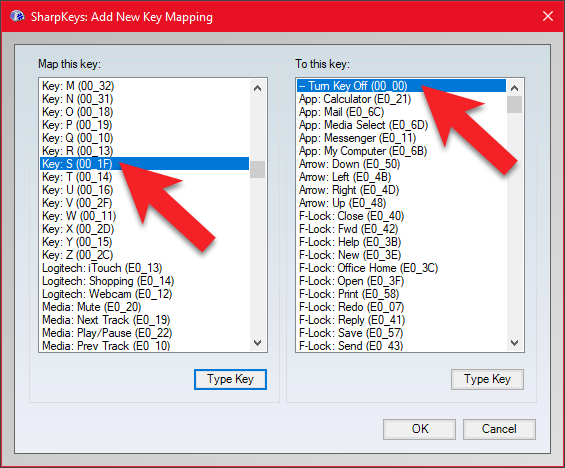

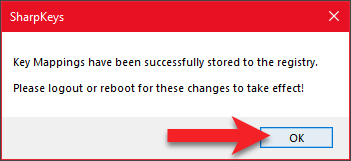
But to fix the faulty key always notice that you have to delete all the value to get the button again in working state like below.

Enable or Disable the key through Windows Registry
In some scenario, buttons are not working on keyboard if it is disable by Windows Registry. In the below path as shown in the image below is as same as doing through third party application. When you use KeyTweak and Sharp Key or any other similar application for disabling and enabling the key, its change or create the same value in the Windows Registry path below.
Computer\HKEY_LOCAL_MACHINE\SYSTEM\CurrentControlSet\Control\Keyboard Layout

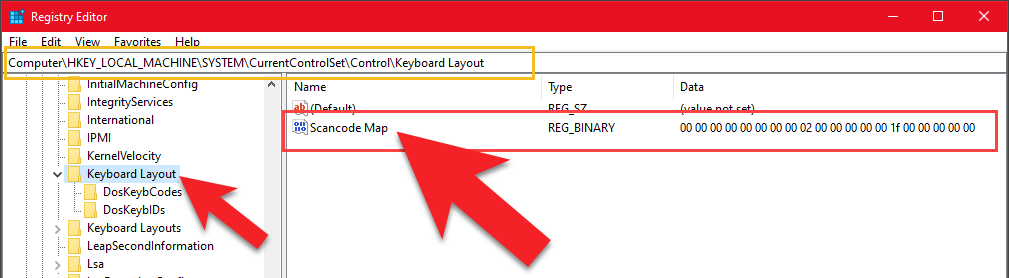
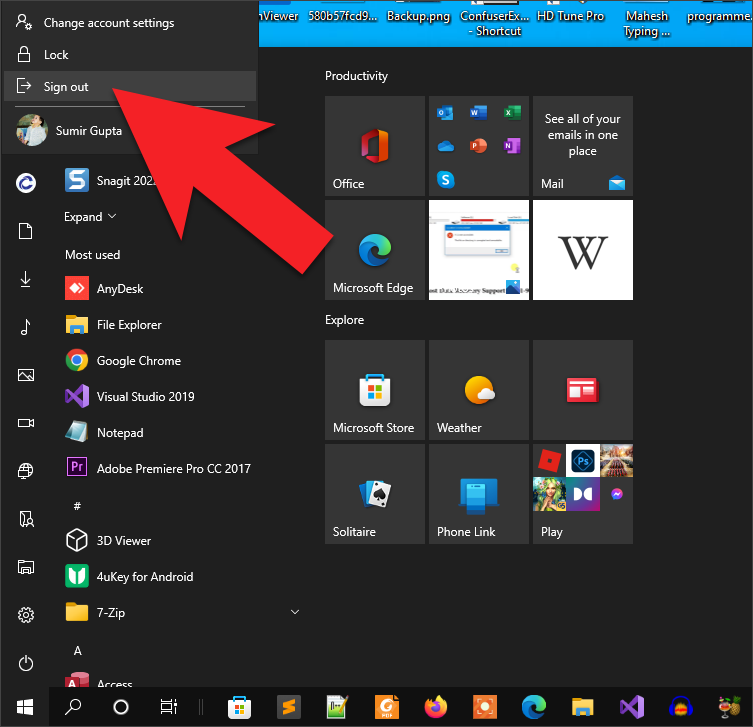
To fix this issue which is enabled through Windows Registry just delete the value and restart the computer to take effect and after restart your key will be in working state again.

Still not able to analyze on the Software parts
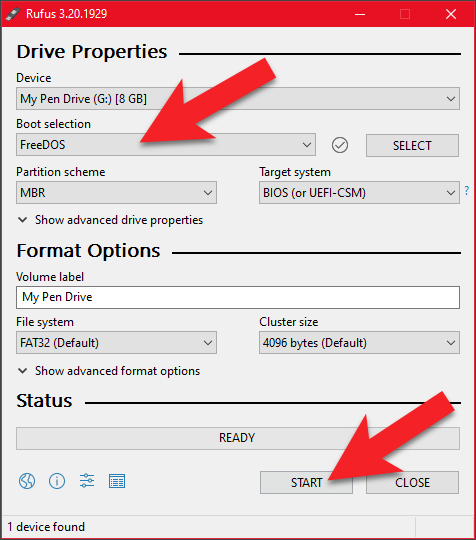
If you still not able to analyze about the faulty keys through Software then I recommend you to download Rufus here application and make your Pen drive MS-DOS bootable. And when you done making it bootable, then boot your system through MS-DOS bootable Pen drive and check by typing the faulty keys there. If the faulty keys are working in MS-DOS that means there must be any settings applied in Windows side or still there is any third party app which is blocking the key to type the text.
If the faulty keys are not working in MS-DOS environment then it means your Laptop keypad or keyboard having the issue related to the Hardware parts.
Hardware Parts
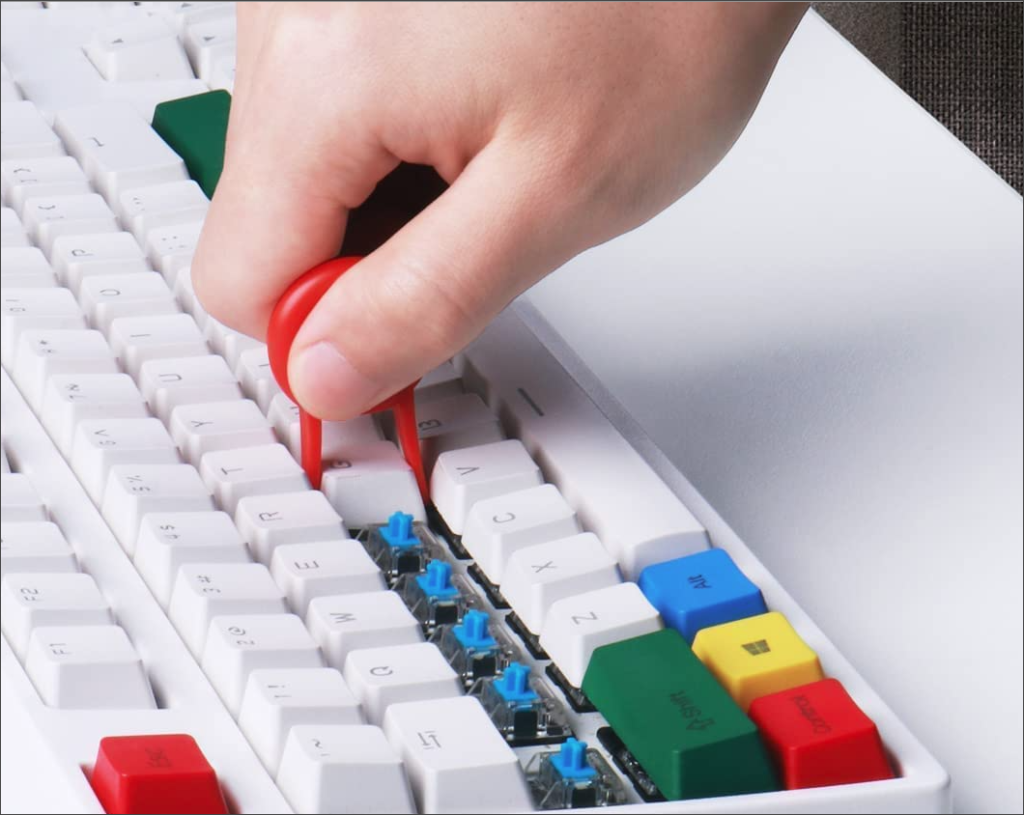
First try to clean the faulty keys properly and check. In some type of keyboard you may have Key Puller tool so that you can easily eject or remove the key and clean the track of your keypad and check.
Second which is most important and very successful method to open up your Laptop keypad. Do this as described in the video below and look for Keypad Cable attached on the motherboard. Which you need to clean it properly through brush and thinner or petrol and check. (This second step can be differed in some laptop depend upon the model type and its opening method, and if you are not sure do it by an expert.)
Here is the video for you guys on our Computics Lab YouTube channel that you can refer and solve it at your own pace. Must like, share and subscribe our Computics Lab YouTube channel which motivate us to create more awesome helping tech videos for you. Thanks for reading and if you have any feedback, don’t forget to comment us on our YouTube video or to this blog post. We will happy to help you!!!
I hope your faulty keys are back in working state by applying the above method. But if faulty keys are still not working on your keyboard then now its time to replace with new one as per your Laptop model number.
Thanks for reading!!!