

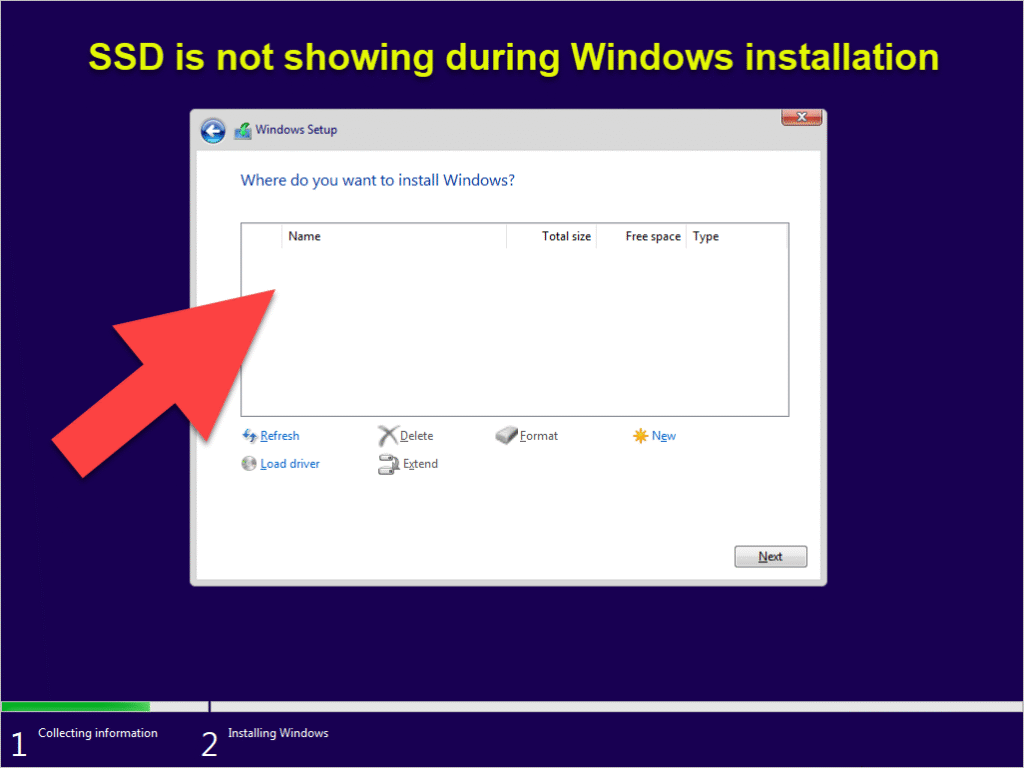
SSD Not Showing During Windows Installation? Fix NVMe SSD Detection Issue, even though it is detected in BIOS. Fix NVMe SSD Detection issue while you installting Windows 10 or 11.
In today’s fast-paced tech world, new devices and innovations launch daily — from microscopic chips to full-sized machines like desktops, laptops, and servers. Interestingly, these powerful devices are powered by small yet crucial components. One such component is the SSD (Solid State Drive), and many users face a common issue during OS installation:
If you’re stuck at this stage, don’t worry. In this guide, we’ll show you why the SSD is not detected and how to manually load the Intel RST VMD driver to fix it.
🔍 Why NVMe SSD Is Not Detected During Windows Installation
The most common reason is missing drivers in the Windows installation media, especially for newer chipsets and NVMe SSDs.
Most Windows 10 or Windows 11 ISO files downloaded from Microsoft do not include the Intel VMD (Volume Management Device) driver. This driver allows Windows to communicate with NVMe SSDs via the PCIe interface. Without this, your SSD will not appear during the setup process.

What is VMD?
Intel’s VMD (Volume Management Device) is part of Intel Rapid Storage Technology (RST), which enhances the performance and reliability of storage drives. Without the proper RST driver, Windows setup cannot detect NVMe SSDs on modern Intel platforms.
✅ How to Fix: SSD Not Showing During Windows Setup (Step-by-Step)
Follow these steps to load the missing Intel VMD driver and fix the issue:
1️⃣ Download the Intel RST Driver (VMD Compatible)
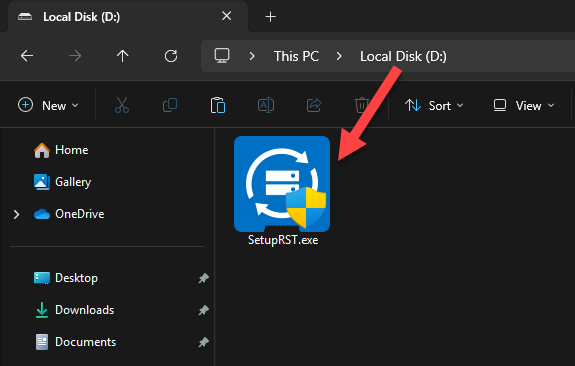
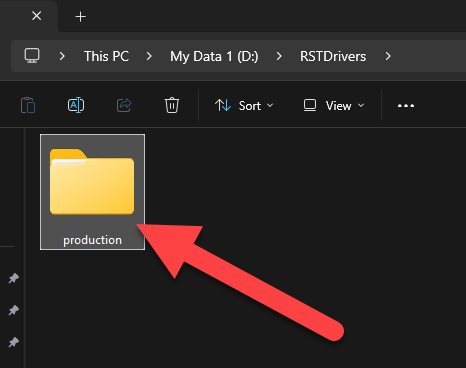
Visit the Intel RST Driver Download Page and download the appropriate driver for your system. ( I have downloaded it in D drive for simple to use path )

🔹 Make sure to select the correct version based on your Intel processor generation (e.g., 11th Gen, 12th Gen, 13th Gen, 14th Gen, 15th Gen…) and Windows OS architecture (x64 or x86).
2️⃣ Extract Intel RST Driver Files
If the driver file you downloaded is an EXE, you need to extract it.
Steps to extract:
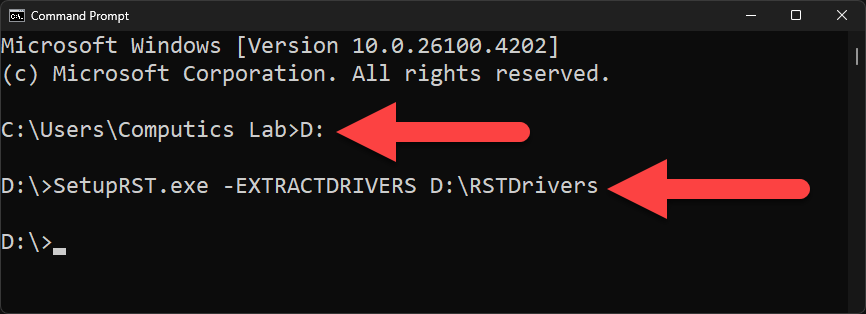
- Open Command Prompt (CMD)
- Navigate to the downloaded file path, in my case D drive (D:)
- Run the following command: give the extracted folder name like RSTDrivers
SetupRST.exe -extractdrivers <destination_folder_path>
📝 Example:
SetupRST.exe -extractdrivers D:\RSTDrivers

⚠️ If you’re having trouble extracting drivers, skip this step and download pre-extracted drivers below. And copy that driver to your bootable media. That’s it.
3️⃣ Copy Extracted Drivers to Bootable USB
Once extracted, copy the entire folder containing the drivers into your bootable Windows USB drive. In my case RSTDrivers folder.

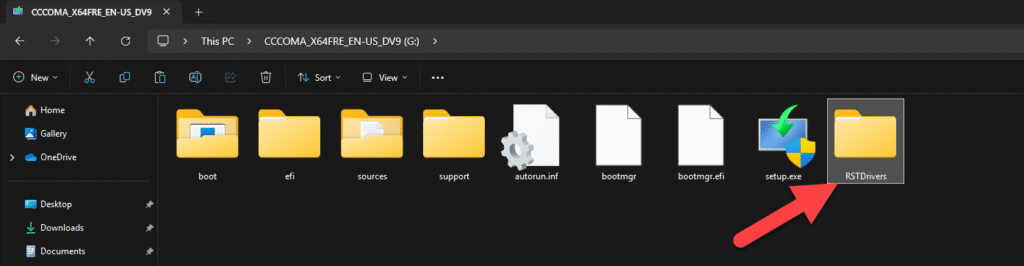
This makes it easy to browse and locate during installation.
4️⃣ Load the VMD Driver During Windows Setup
- Start Windows installation.
- When you reach the “Where do you want to install Windows?” screen, your SSD might not be listed.
- Click on “Load Driver”
- Browse to the path where you copied the Intel RST drivers (e.g.,
USBPenDrive\RSTDrivers) - Select the appropriate
.inffile and click Next

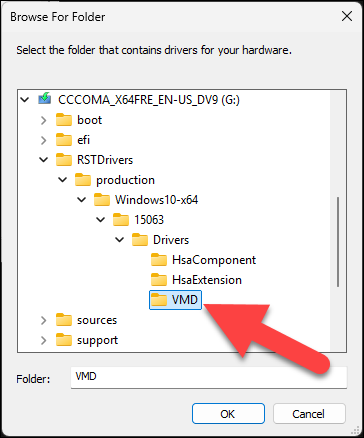

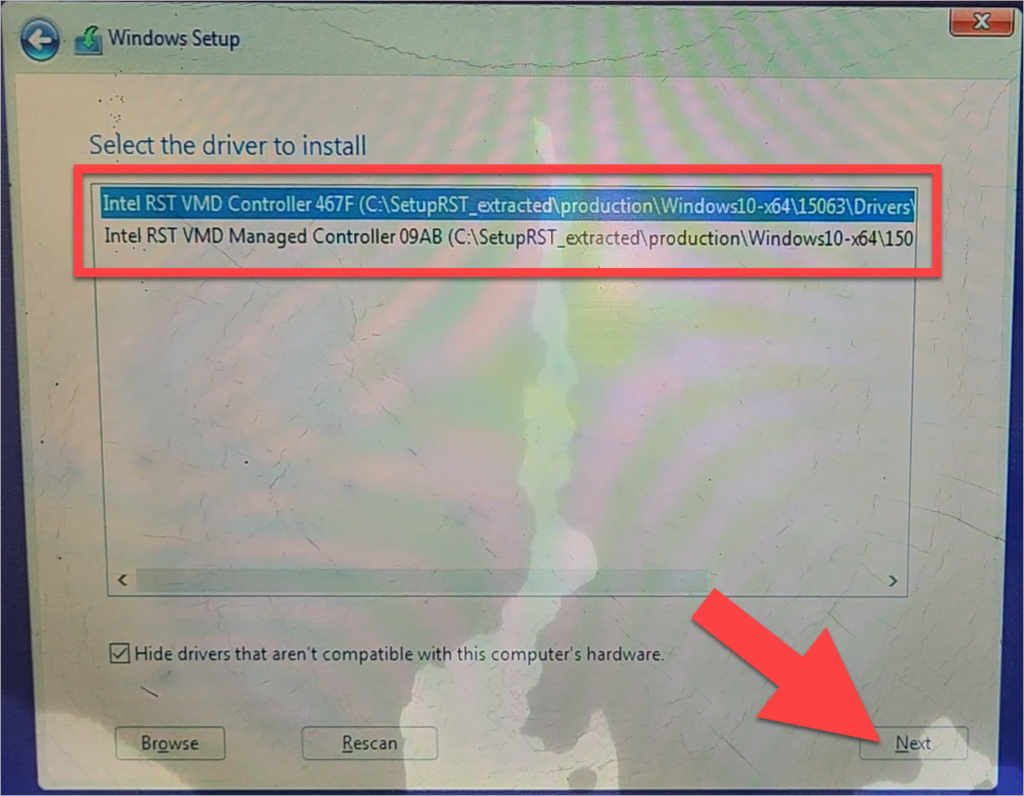

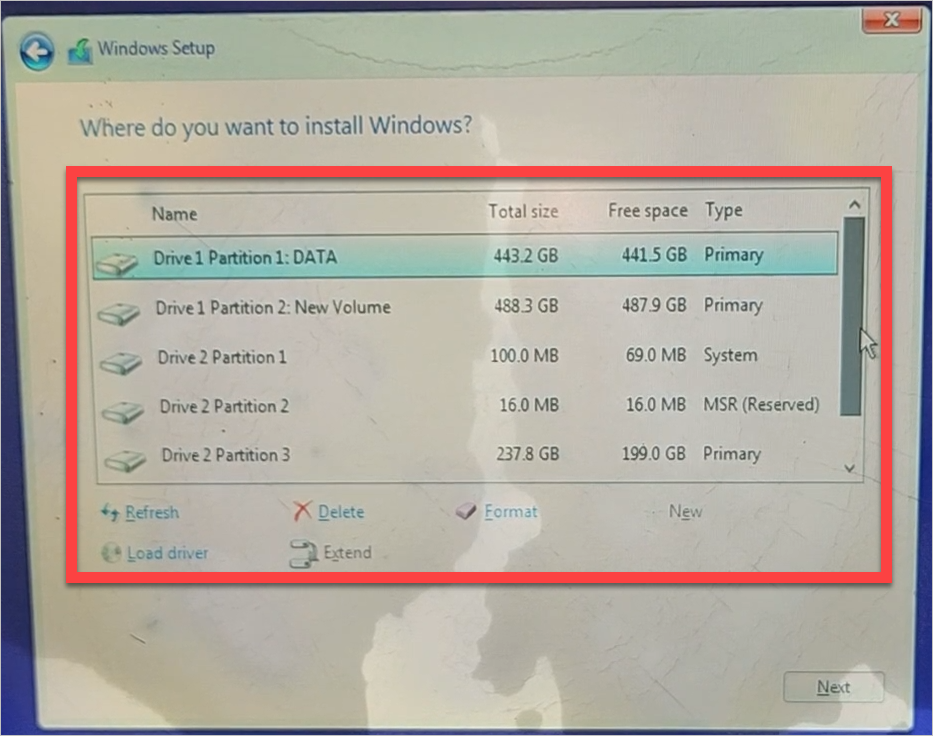
Your SSD should now appear in the list. 🎉
📥 Download Pre-Extracted Intel RST VMD Drivers
Want to skip the extraction steps?
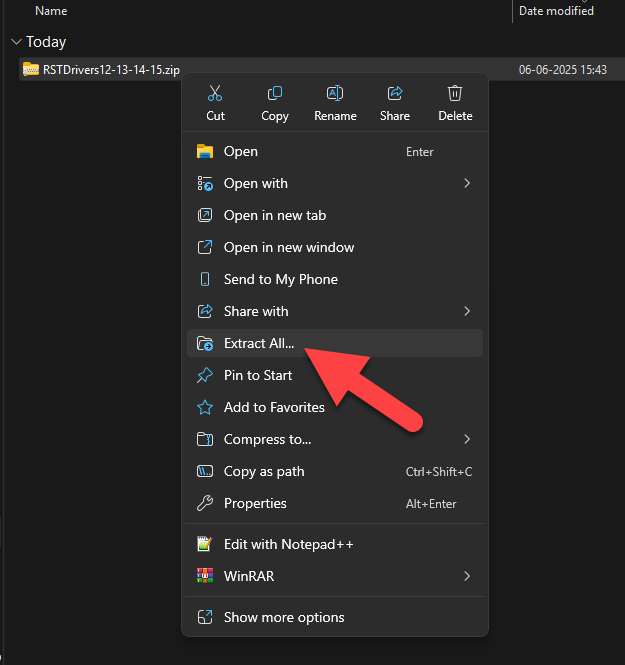
Just download the pre-extracted VMD drivers in a ZIP file below.
Right-click the ZIP folder, choose Extract All, and copy the extracted folder to your bootable USB drive — that’s it!
👉 Download Intel RST Drivers (Supports 12th to 15th Gen CPUs)
👉 Download Intel RST Drivers (Supports 12th to 13th Gen CPUs)
👉 Download Intel RST Drivers (Supports 10th & 11th Gen CPUs)
👉 Download Intel RST Drivers (Supports 8th & 9th Gen CPUs)

For other processors, visit the official Intel RST Download Page and follow the extraction steps mentioned above.
📹 Watch Step-by-Step Video Guide
Still confused? No problem! We’ve created a video tutorial for you.
🎥 Watch on YouTube: How to Fix SSD Not Detected During Windows Installation
💬 Like, Share, and Subscribe to our Computics Lab YouTube channel — your support motivates us to keep creating helpful tech videos!
🧾 Final Words
The SSD not showing issue during Windows installation is usually caused by missing NVMe or VMD drivers in your Windows ISO image. This is common with newer hardware, especially on laptops and desktops using 11th, 12th, or 13th Gen Intel processors.
By manually loading the correct Intel RST driver, you can easily fix this issue and proceed with your installation without errors.
If you still face problems, feel free to comment below or reach out via our YouTube channel — we’re happy to help!
📞 Need Help? Contact Us!
If you face any issues while upgrading from Windows 7 to Windows 10, feel free to contact us for assistance.
📱 Call or WhatsApp: +919015367522
We’re here to help you with Windows installation and other computer-related solutions.
Also learn how to upgrade Windows 7 to Windows 10 easily. Thank you…


Sumit Kumar is an experienced IT professional specialized in Windows System and Network Administration. Miscrosoft & Cisco certified, he has worked with leading global IT firms, including TCS. YouTuber @ Computics Lab, Tech Blogger computicslab.in/blog. Developed tools like Mahesh Typing Tutor, JP Assist, and WMI Rocker under brand Computics Lab. Continues to simplify technology for everyday users.